How to Fix E1 Error on Air Fryer: Troubleshooting Guide
Resolve the issue How to fix E1 error on air fryer swiftly with our expert guide. Learn effective troubleshooting steps to fix the E1 error, covering issues with the heating element, temperature sensor, and more. Get your air fryer back to top-notch performance with our comprehensive solutions.
Short Answer: To troubleshoot the E1 error on your air fryer, start by power cycling the appliance—turn it off, unplug, wait a few minutes, and restart. Ensure a stable power source, trying a different outlet if needed.
Examine the heating element for damage and replace it if necessary. Check the temperature sensor for loose connections or damage; consider replacement if issues persist.
If your air fryer has firmware, update it following the manufacturer’s guidelines. If problems continue, reach out to the manufacturer’s customer support for further assistance.
Air fryers have revolutionized the way we cook, providing a healthier alternative to traditional frying methods. However, encountering the E1 error on your air fryer can be a frustrating setback. In this comprehensive guide, we, at kitchengadgetxpress.com present a detailed troubleshooting manual to help you resolve the E1 error and get your air fryer back in working order.
You Can Read more about product reviews: Best Teflon-Free Air Fryer
Sponsored Product
Nuwave Brio Air Fryer Oven
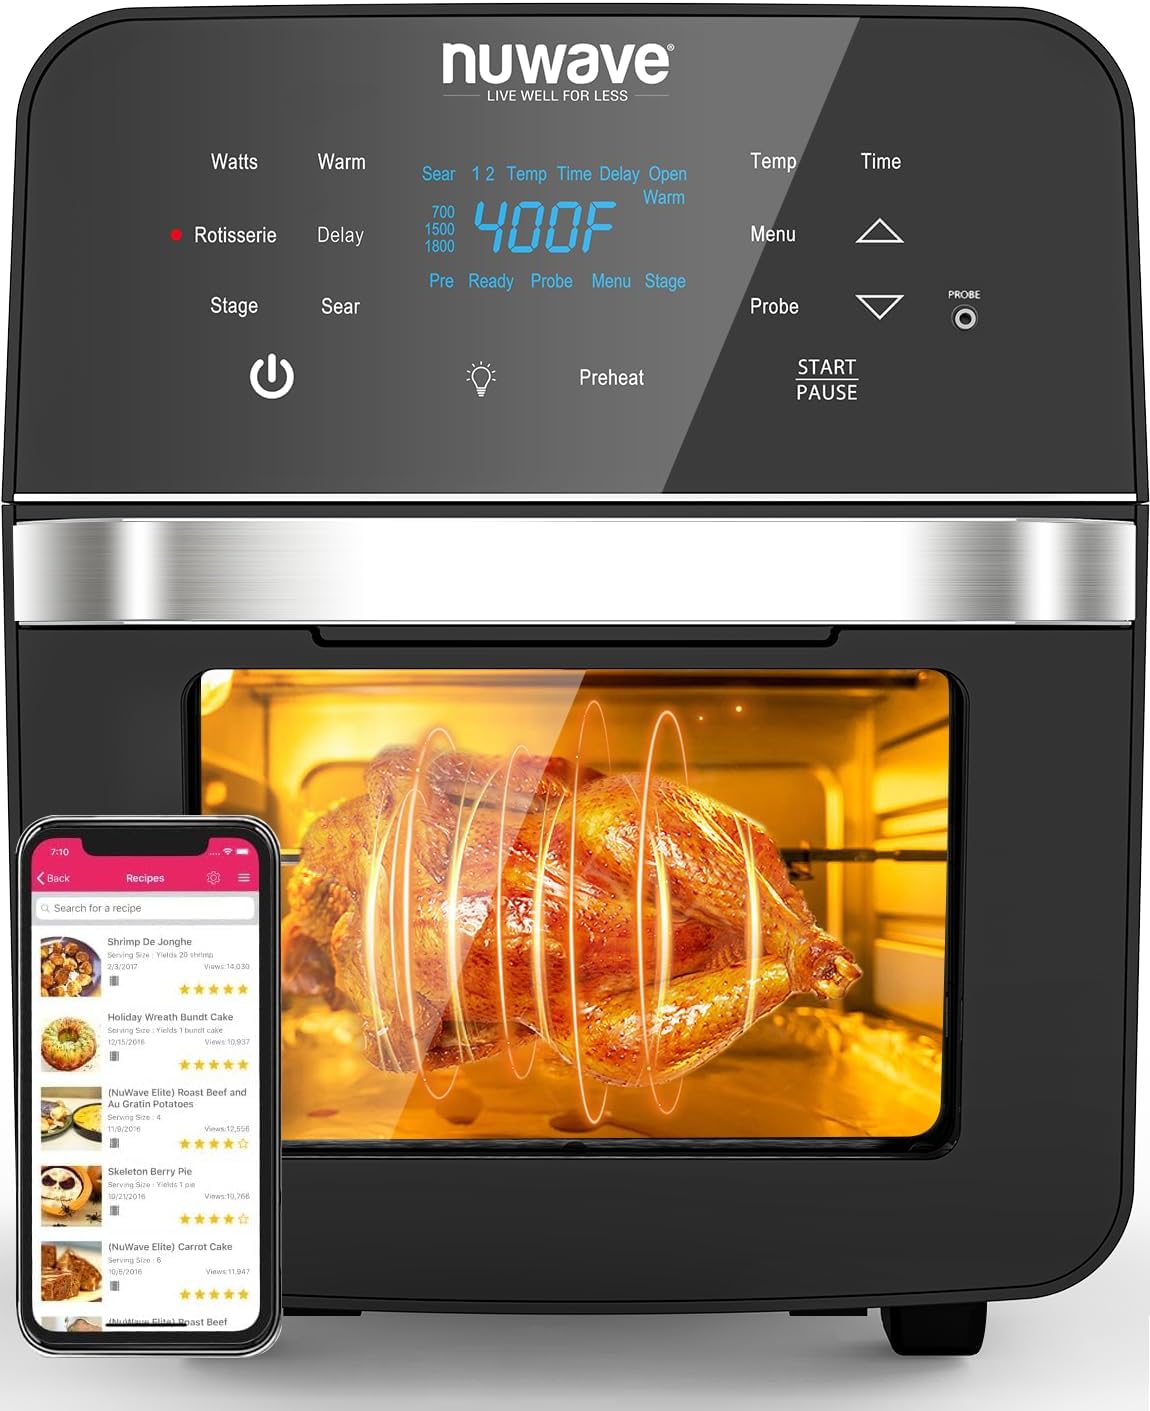
15.5Qt X-Large Family Size,
- Special Feature: Programmable
- Product Dimensions: 13″D x 14.5″W x 16.25″H
- Color: Black
- Capacity: 15.5 Quarts
- Material: Stainless Steel
Understanding the E1 Error
The E1 error typically indicates a malfunction in the temperature sensor or a disruption in the heating element of your air fryer. Before diving into the troubleshooting steps, it’s essential to identify the possible causes of this error to address the issue effectively.
How to Fix E1 Error on Air Fryer
1. Power Cycle Your Air Fryer
Begin by turning off the air fryer and unplugging it from the power source. Allow it to rest for a few minutes to reset the internal components. Reconnect the power and restart the appliance to see if the E1 error persists.
2. Check the Power Supply
Ensure that the air fryer is plugged into a stable power source. Fluctuations or interruptions in power supply can trigger error codes. Try connecting the appliance to a different outlet or using a surge protector to stabilize the power flow.
3. Inspect the Heating Element
A faulty heating element can lead to temperature-related errors like E1. Examine the heating element for any visible damage or signs of wear. If you notice issues, it may be necessary to replace the heating element with a compatible one.
4. Examine the Temperature Sensor
The temperature sensor plays a crucial role in regulating the cooking temperature. Check for any loose connections or damage to the sensor. If identified, consider replacing the sensor following the manufacturer’s guidelines.
5. Update Firmware (If Applicable)
Some modern air fryers come with firmware that can be updated to resolve software-related issues. Check the manufacturer’s website for any available firmware updates and follow the instructions to ensure your air fryer’s software is up-to-date.
6. Contact Manufacturer Support
If the E1 error persists after attempting the troubleshooting steps, it’s advisable to reach out to the manufacturer’s customer support. Provide them with detailed information about the error and follow their guidance on further diagnostics or potential repair solutions.
Prevention Tips
To minimize the chances of encountering the E1 error in the future, consider the following preventive measures:
- Regular Cleaning: Clean your air fryer after each use, paying special attention to the heating element and temperature sensor.
- Avoid Overloading: Overloading the air fryer can lead to overheating. Follow the manufacturer’s guidelines on capacity to ensure proper functioning.
- Proper Storage: Store your air fryer in a cool, dry place when not in use, protecting it from extreme temperatures or humidity.
Conclusion
In conclusion, resolving the issue of How to Fix E1 Error on Air Fryer requires a systematic approach, addressing both potential hardware and software issues. By following the detailed troubleshooting steps and implementing preventive measures, you can enjoy uninterrupted cooking experiences with your air fryer.
FAQs:
What is the error code E1 on an air fryer?
The E1 error on an air fryer indicates a malfunction related to the appliance’s temperature control system. This error code typically points to issues with the heating element or temperature sensor, impacting the device’s ability to maintain the desired cooking temperature.
How to Fix E1 Error on Air Fryer?
To address the issue of How to Fix E1 Error on Air Fryer, start by power cycling the air fryer—turn it off, unplug it, wait a few minutes, and then restart. Check the power supply by using a stable outlet or a surge protector. Examine the heating element and temperature sensor for damage, considering replacement if necessary. If the problem persists, contact the manufacturer’s customer support for further assistance.
Why does my air fryer display the E1 error?
Your air fryer displays the E1 error when there is a disruption in the temperature control system. This can be caused by issues such as a malfunctioning heating element or a faulty temperature sensor. It’s crucial to identify and address the specific problem to resolve the E1 error and restore normal functionality.
How do I reset my air fryer?
To reset your air fryer, follow these general steps:
Turn off the air fryer and unplug it from the power source.
Allow the appliance to rest for a few minutes to ensure a complete reset.
Plug the air fryer back in and restart it.
Check the user manual for model-specific reset instructions, as different air fryers may have variations in the reset process.